Recreate KFC's Flaky Biscuits: Golden, Buttery Joy at Home
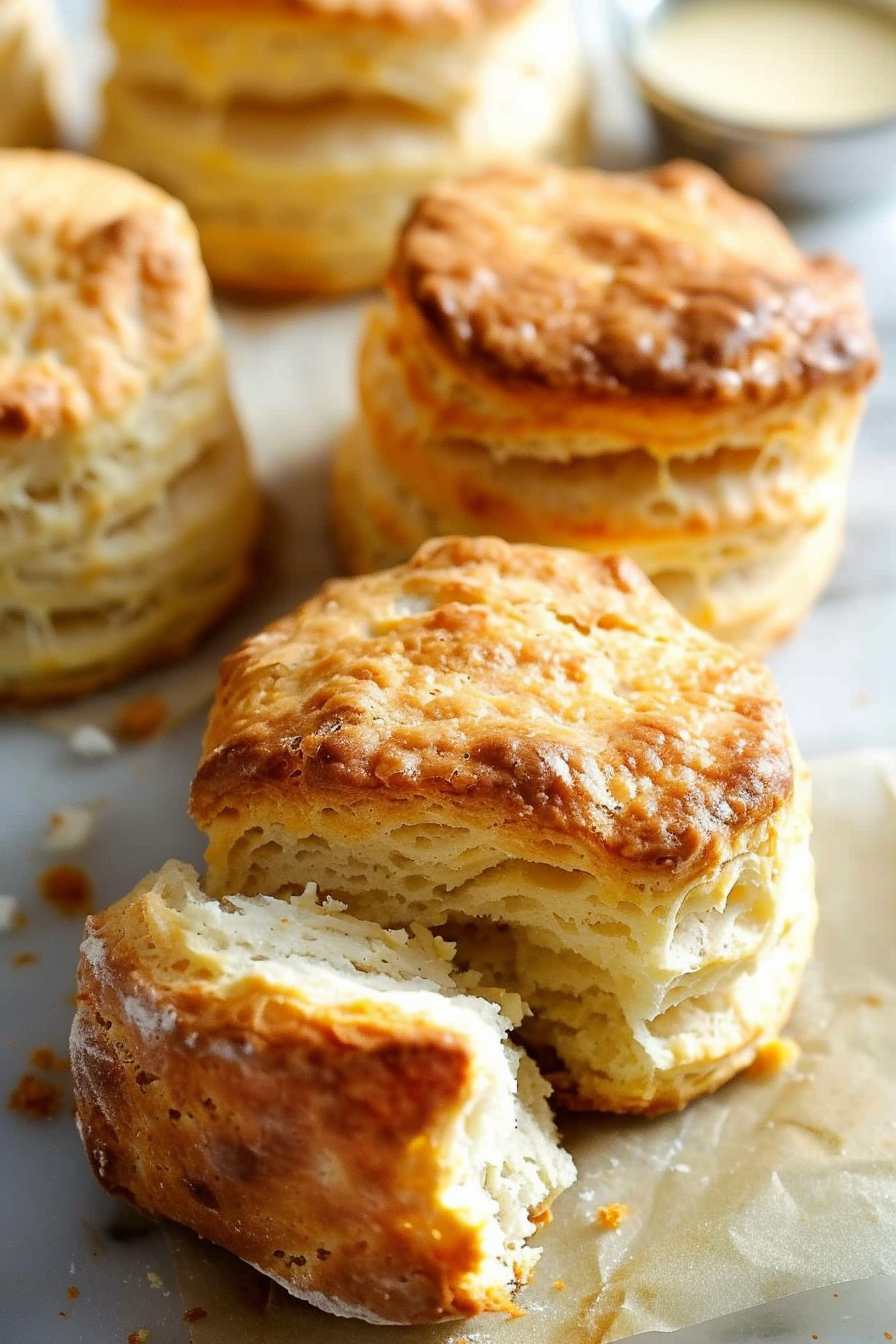
There’s a certain magic to a perfectly baked biscuit. It’s that moment when your teeth sink into a crisp, golden exterior, giving way to a pillowy soft, tender crumb that practically melts in your mouth. For many, this nostalgic perfection is encapsulated by KFC's flaky biscuits – a side dish so beloved it often rivals the fried chicken itself. These golden, buttery rounds have secured their place as a Southern comfort food classic, cherished for their irresistible texture and comforting flavor.
If you've ever found yourself longing for that authentic KFC biscuit experience without leaving your kitchen, you're in the right place. While the original recipe is a closely guarded secret, countless home bakers have perfected the art of recreating these legendary biscuits. This comprehensive guide will not only unlock the secrets to their signature flakiness and tenderness but also empower you with the techniques and knowledge to bake a batch of homemade KFC-style biscuits that are truly spot-on. Say goodbye to dense, disappointing results and prepare to savor the buttery joy of your own golden creations.
The Magic Behind KFC's Irresistible Flakiness
What makes KFC's flaky biscuits so uniquely addictive? It's a masterful blend of Southern culinary tradition, precise chemistry, and ingenious baking techniques. Far from being a mere collection of ingredients, these biscuits are the product of specific principles that you can easily replicate at home.
Cold Butter: The Architect of Layers
The cornerstone of any truly flaky biscuit lies in the use of cold butter. When small pieces of icy butter are incorporated into the flour, they don't fully blend. Instead, they remain distinct, creating tiny pockets throughout the dough. As these biscuits bake at a high temperature, the water in the butter rapidly turns to steam. This steam then pushes apart the layers of dough, creating those coveted, delicate flakes that define a perfect biscuit. To achieve this, it's crucial to:
- Keep it Cold: Use butter straight from the refrigerator, or even briefly chill it in the freezer beforehand.
- Minimize Handling: Work quickly to cut the butter into the flour using a pastry cutter, two forks, or even a food processor (pulsing briefly). The goal is pea-sized pieces of butter, not a uniform paste. Overworking the dough warms the butter, leading to a denser, less flaky biscuit.
Buttermilk: The Tenderizing Powerhouse
Buttermilk is far more than just a liquid in biscuit baking; it's a critical chemical agent. Its acidity reacts with baking soda (another key ingredient) to produce carbon dioxide gas. This gas contributes significantly to the biscuits' rise, creating that light, airy, and incredibly tender crumb. Beyond its leavening power, buttermilk also adds a subtle tang that enhances the overall flavor profile, distinguishing it from biscuits made with regular milk. While a DIY buttermilk substitute (milk + vinegar or lemon juice) can work in a pinch, for authentic KFC flaky biscuits, real cultured buttermilk offers the best flavor and texture.
High Heat, High Rise: The Baking Temperature Secret
Baking biscuits at a high temperature, typically 425°F (220°C), is non-negotiable for achieving their signature rise and crispy, golden exterior. This intense heat does two vital things:
- It rapidly activates the leavening agents (baking soda and baking powder), causing the biscuits to puff up quickly.
- It creates a thermal shock that sets the outer crust almost immediately, trapping the steam from the cold butter and encouraging those beautiful flaky layers to form. Lower temperatures will result in a slower rise, potentially leading to dense, pale, and less impressive biscuits.
Essential Ingredients for Your Golden Batch
Recreating KFC's flaky biscuits starts with a foundation of simple, high-quality pantry staples. The magic isn't in obscure ingredients, but in understanding how each one contributes to the final masterpiece.
- All-Purpose Flour: The backbone of your biscuit. While some Southern bakers swear by self-rising flour, using all-purpose flour gives you more control over the leavening.
- Baking Powder & Baking Soda: These two work in tandem, especially with buttermilk, to provide the primary lift. Ensure they are fresh for maximum effectiveness.
- Salt: Essential for balancing flavors and enhancing the richness of the butter.
- Granulated Sugar (Optional): A touch of sugar can contribute to a slightly richer flavor and a more golden-brown crust, mimicking the subtle sweetness in some restaurant versions.
- Cold Butter: As discussed, this is non-negotiable for flakiness. Use unsalted butter so you can control the salt content.
- Cold Buttermilk: The critical acidic liquid that reacts with the leavening and provides tenderness and tang.
Mastering the Technique: From Dough to Deliciousness
Even with the right ingredients, technique is paramount. Think of biscuit making as an art form that rewards a gentle touch and careful execution. This process is designed to keep ingredients cold and prevent overworking, ensuring maximum flakiness and tenderness.
Chilling is Key: Prep and Patience
Before you even start mixing, ensure all your dairy ingredients – butter and buttermilk – are thoroughly chilled. You can even place your flour in the freezer for 15-20 minutes. This extra step helps maintain the butter's solid state for as long as possible, which is crucial for those flaky layers.
The Gentle Touch: Mixing and Kneading (or lack thereof)
The secret to tender biscuits is minimal handling. Overworking the dough develops gluten, which leads to tough, chewy biscuits – the dreaded "hockey pucks."
- Combine Dry Ingredients: Whisk flour, baking powder, baking soda, salt, and optional sugar in a large bowl.
- Incorporate Butter: Cut the cold butter into small, pea-sized pieces and quickly cut it into the flour mixture using a pastry cutter, your fingertips, or two knives. It should resemble coarse meal with some larger butter chunks visible.
- Add Buttermilk: Make a well in the center of the flour-butter mixture and pour in the cold buttermilk. Mix with a fork or your hands just until the dry ingredients are moistened and a shaggy dough forms. Do not overmix!
- Fold and Pat: Turn the dough out onto a lightly floured surface. Gently pat it into a rough rectangle, then fold it in thirds like a letter. Rotate and repeat this pat-and-fold process 2-3 times. This creates additional layers without overworking the dough.
Cutting for Success: The Biscuit Cutter Method
Once your dough is gently folded, pat it to an even thickness (around 3/4 to 1 inch). Dip your biscuit cutter in flour before each cut to prevent sticking. Press straight down firmly – do not twist the cutter. Twisting seals the edges of the biscuit, preventing a full rise. For any leftover dough scraps, gently press them together and cut a final biscuit or two, but understand these may not rise as high as the first batch. Avoid these common mistakes to prevent dense, hockey-puck-like biscuits.
Baking to Perfection: Golden Brown and Fluffy
Arrange your cut biscuits on a parchment-lined baking sheet, either touching for softer sides or spaced apart for crispier edges. Bake in a preheated 425°F (220°C) oven for 12-18 minutes, or until deeply golden brown on top and bottom. For an extra touch of richness, brush the tops with melted butter immediately after they come out of the oven.
Troubleshooting Common Biscuit Blunders
Even seasoned bakers encounter challenges. Here are solutions to common biscuit problems:
- Dense, Hard Biscuits: This almost always means you've overworked the dough or allowed the butter to get too warm. Remember: minimal handling and keep ingredients cold!
- No Flaky Layers: Either the butter wasn't cold enough, or it was overmixed and fully incorporated into the flour rather than remaining in distinct pieces.
- Pale Biscuits: Your oven might not be hot enough, or your baking powder/soda might be old. Ensure correct temperature and fresh leavening agents.
- Dry Biscuits: Too much flour was added, or the dough was rolled too thin. Biscuits like a generous amount of fat and moisture.
Elevating Your Homemade KFC Flaky Biscuits
Once you've mastered the basic recipe, the possibilities are endless. These KFC flaky biscuits are incredibly versatile. Serve them warm with extra butter, honey, jam, or gravy for a classic Southern breakfast or brunch. They make an unbeatable accompaniment to fried chicken, mashed potatoes, or any hearty meal. You can also experiment with savory variations by adding a pinch of garlic powder, dried herbs like chives or rosemary, or a sprinkle of grated cheese to the dry ingredients before adding the butter.
For storage, freshly baked biscuits are best enjoyed the same day. However, they can be stored in an airtight container at room temperature for up to 2-3 days. Reheat them gently in a warm oven for a few minutes to restore some of their fresh-baked goodness. You can even freeze unbaked biscuit dough: cut the biscuits, place them on a baking sheet, freeze until solid, then transfer to a freezer-safe bag. Bake from frozen, adding a few extra minutes to the baking time.
Conclusion
The journey to recreating KFC's flaky biscuits at home is a rewarding one. It's about more than just a recipe; it's about understanding the science and technique behind truly exceptional baking. By focusing on cold butter, tangy buttermilk, high heat, and a gentle touch, you can consistently achieve those golden, buttery, and incredibly tender biscuits that rival the beloved original. So, roll up your sleeves, gather your ingredients, and prepare to fill your home with the comforting aroma of freshly baked Southern tradition. Your taste buds will thank you!
